I. What is a Tree Survey?
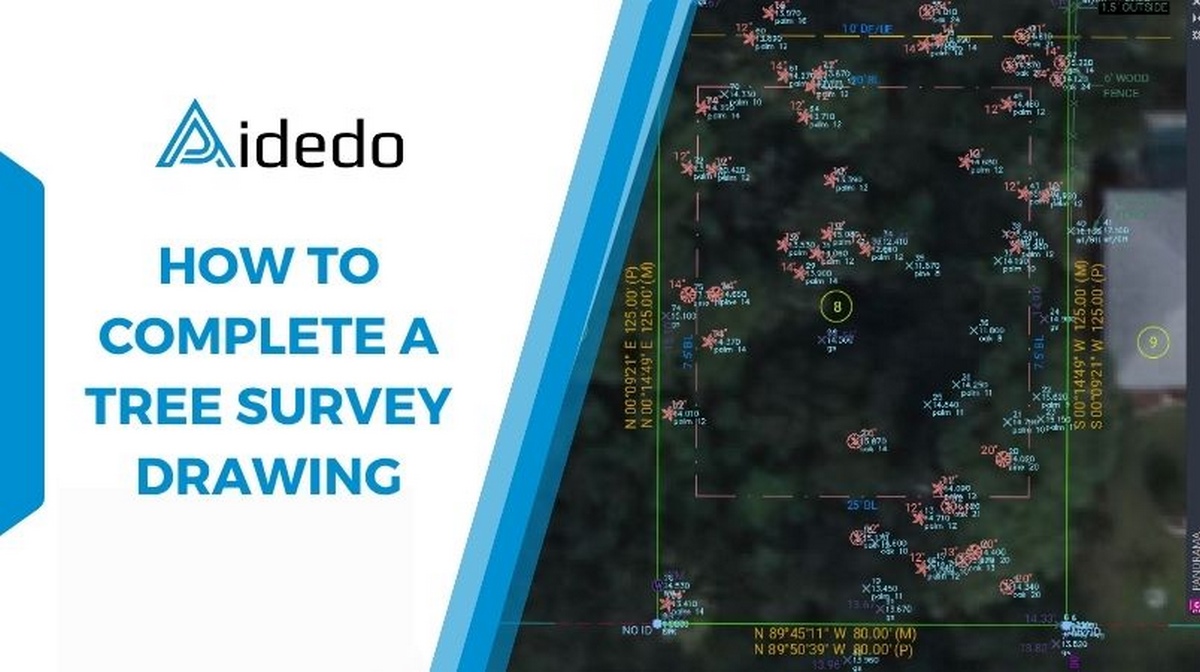
A tree survey is a process of gathering detailed information about existing trees on a site and adjacent areas, often required when submitting a planning application. The primary purpose of this survey is to ensure that the planning process takes into account all trees and hedgerows that may be affected by the proposed development.
II. Tree Survey and Boundary Survey: How they work together
Not all Boundary Surveys need a tree survey. But every Tree Survey must come with a finished Boundary Survey. The boundary survey gives the base drawing and coordinates we use to place Tree points in the right spot.
Read more: how to complete a boundary survey for a builder services package
III. Steps to do a Tree survey
Step 1: Finish the boundary survey first
You can’t start a tree survey without the boundary survey done first. It tells us the limits of the site.
Step 2: Check input files from client
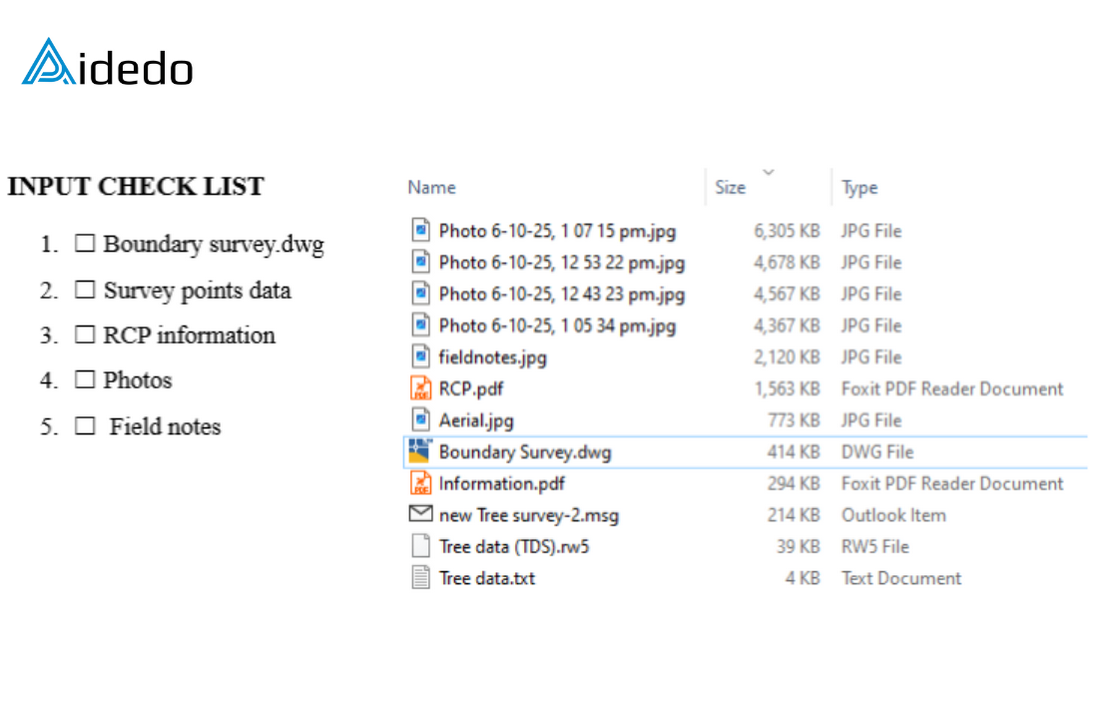
Check the input data provided by the client against the existing input checklist. Notify the client if any information is missing. Typically, field notes from the surveyor should clearly state details of the trees surveyed, such as species, trunk diameter, and health condition, etc.
Step 3: Import Tree points into CAD file
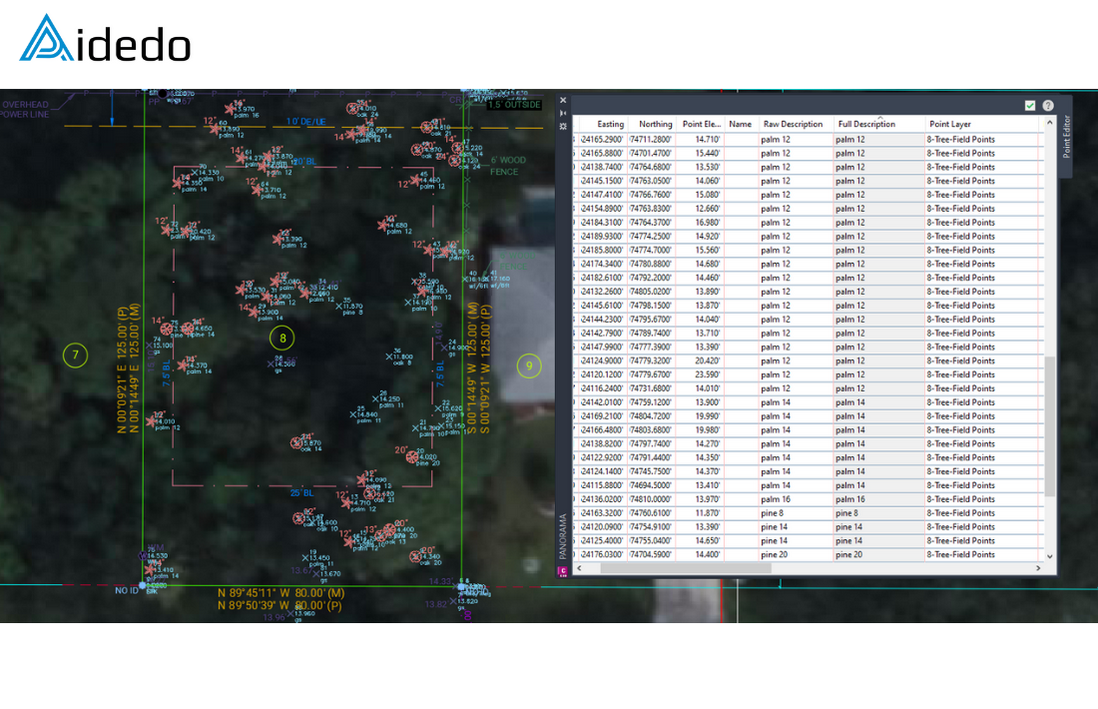
Import the surveyed point data into the previously completed boundary survey drawing. Set up the coordinate system in Civil 3D to ensure the imported data is positioned correctly.
Read more: tree survey drafting service
Step 4: Add Tree symbols and labels
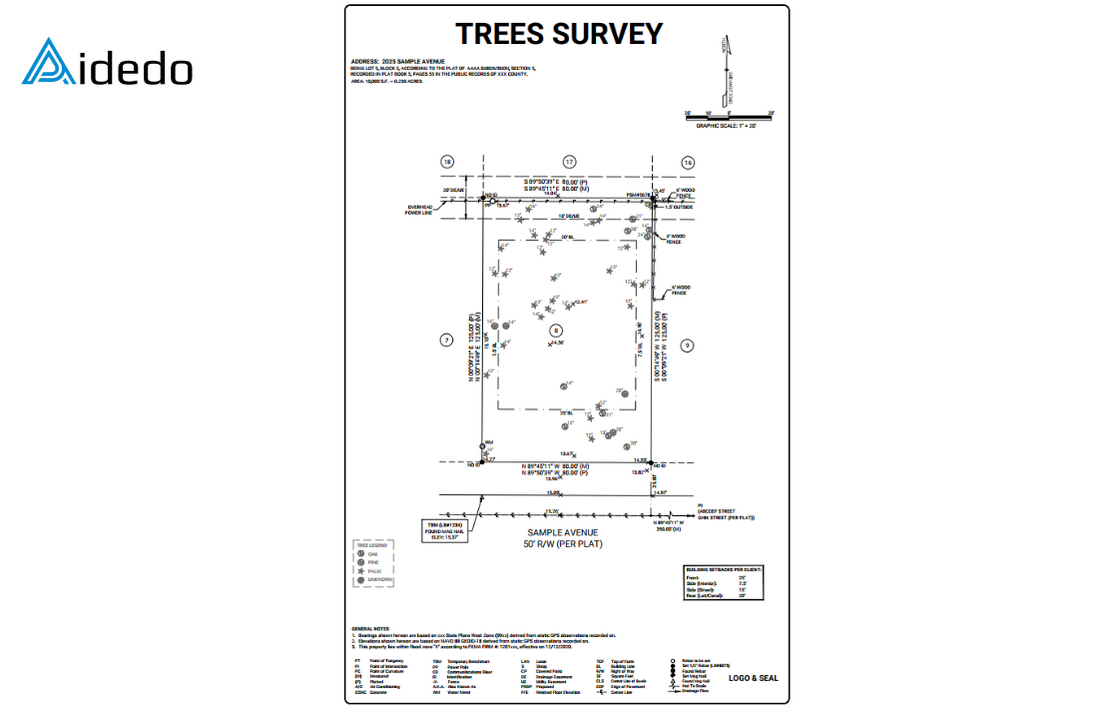
Based on the field notes and point description data, assign the appropriate blocks and labels for each corresponding tree.
Typically, trees with a trunk diameter of 12 inches or less do not need to be shown on the drawing.
In states like Texas, Florida, and California, the following tree species are commonly protected and should be labeled with the word “protected” after the trunk diameter on the drawing:
- Live Oak: 19 inches
- Cedar Elm: 19 inches
- Pecan: 19 inches
Step 5: Check and send drawing to client
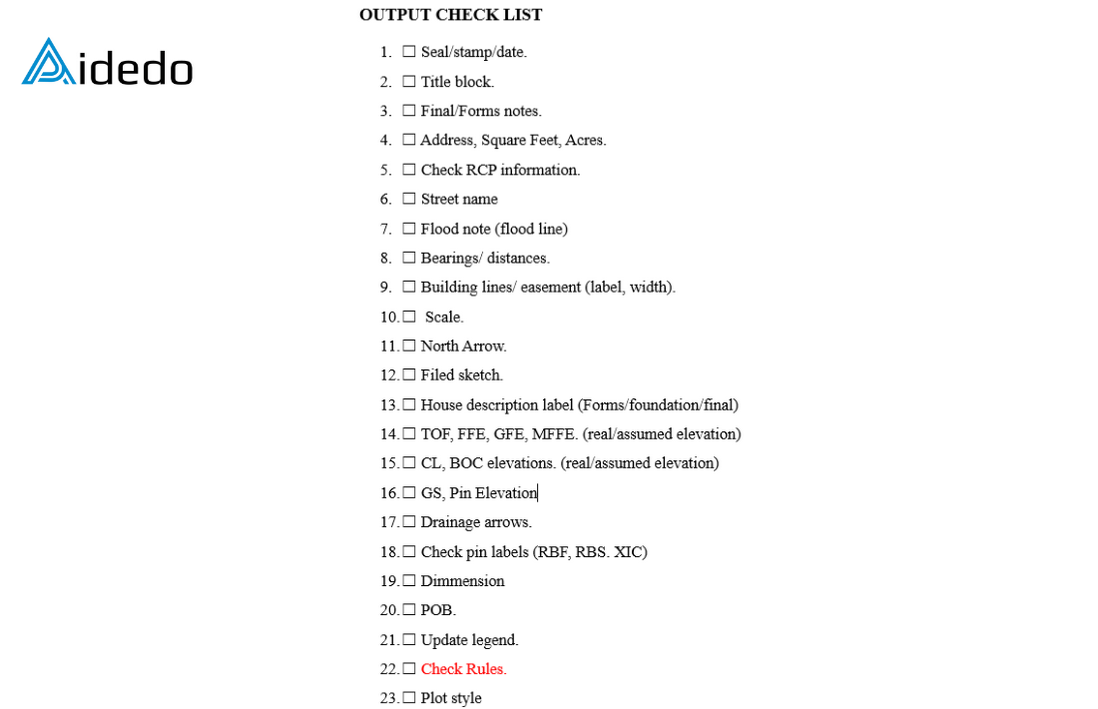
Perform a final review of the entire drawing, generate a PDF print, and send the drawing to the client.
Read more: land survey drafting outsourcing services
Need help with your Tree Survey Drawing?
Email us at contact@aidedo.com or fill out the form below.
We’ll review your input data and schedule a 1:1 online meeting to clarify requirements before getting started.
You’ll receive accurate, fully-labeled drawings—delivered fast, compliant with local regulations, and ready for submission.
Let Aidedo handle the technical work, so you can focus on your project.

